 |
| L4 AOP w/ Invasion Stripes |
Used by US forces in the latter part of WWII primarily as an artillery spotter, the L4 Grasshopper Aerial Observation Post was a nifty addition to the arsenal. Google it for some additional coolness...some nutso pilots decided to arm them with bazookas and go into ground-attack mode!
Now, you could paint it by hand, but I'm going to use some masking techniques and spray paint to get a Grasshopper AOP on the table.
Starting with a primed plane, I used painter's tape (the same blue stuff you use to mask walls for painting) to mask it off. You can use high-tech frisket masking materiels, but let's go the cheap-and-easy route.
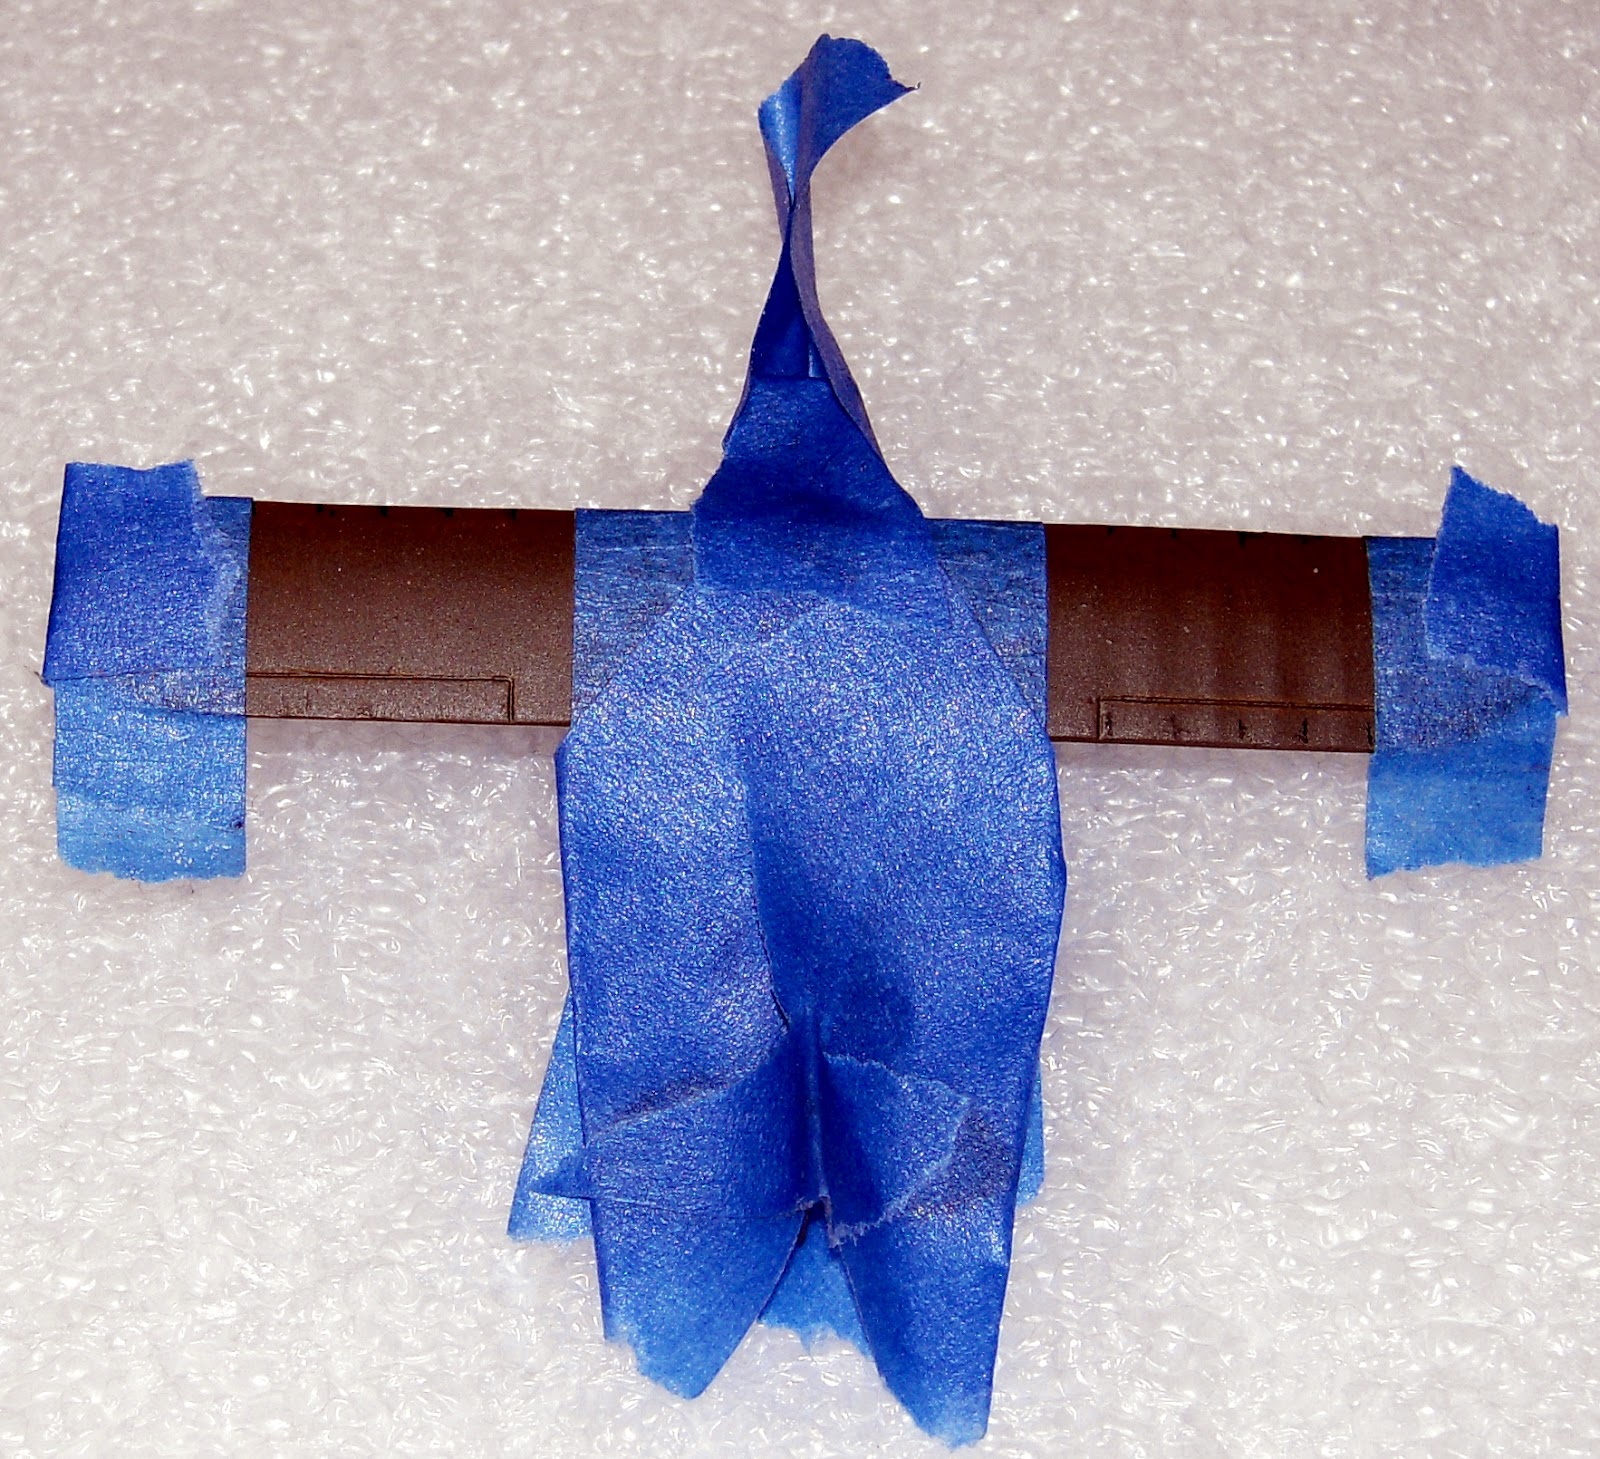
The outside tape is even with where the wing strut attaches to the wing (not visible in this photo, but you can see it in the photo at the top of the page), and the inside tape is 5/8" in. There will be five stripes, and it's easy to measure 1/8" intervals. To burnish the tape for a better seal, use something to rub the edge of the tape to it seals tight to the model. I went high-tech and used the flat part of my thumbnail.
Related paint note: I used War Painter US Armor Spray Paint to prime and base-coat the plane. Good stuff, though a little pricey. Made by the same folks who make Army Painter, though the nozzle is different. But that's a separate subject, so back to the invasion stripes...
 Step 2: Spray Sealing
Next up, spray the wing with the same paint as the base coat. Since our cheap masking tape won't get a great seal, this step will make sure that whatever paint leaks under the edge of the tape is the same color as the base coat, so we won't have to touch it up later. At the same time, it will make for a better seal, so later coats won't leak under the tape. Let it dry thoroughly before the next step, or the white will bleed under and make a mess, as well as make the tape take paint off when we remove the mask.
 Step 3: White Layer
No rocket science here...spray the white on. Use multiple light coats, rather than a heavy coat, so the paint won't peel up when we remove the mask or have a thick-looking layer.
Related paint note: I like DupliColor Sandable Automotive Primer, as you get great coverage and adjustable spray patterns. I have never had a bad can, and have had great results in a variety of temperature/humidity ranges. Armory Flat White Primer is another good paint, with a cool bottle and less smell than any other primer I have used.
Step 4: Add stripes
No spiffy pictures here, as it is rinse-and-repeat from here out. I'll split step 4 into two options: 4a if you continue to use masking tape, or as an alternative, 4b if you want to spend another $3-6 to save a little time.
Step 4a: Striping with Masking Tape
Reminder: use several light coats rather than one heavy coat, and let it dry between steps.
4a1: Move your outer and inner masks 1/8" in. They should now be 3/8" apart.
4a2: Spray white. (This seals it like you did in Step 2).
4a3: Spray the black.
4a4: Move the outer and inner masks another 1/8" in; they should now be 1/8" apart.
4a5: Spray black to seal the edges, let it dry
4a6: Spray your final white stripe.
You can now skip to Step 5...or read on.
You can now skip to Step 5...or read on.
 Step 4b: Striping with Art Tape
If you want to save a little hassle by spending a couple bucks, you can get a roll of 1/8" art tape. The picture on the right is a $6 roll of the good stuff, which seals well, or you can spend $3 for a roll of art tape at Office Depot / Office Max / Office Whatever. If you go the cheap route, get the crepe type rather than the glossy stuff...it will seal better.
Note: the "for curves" part is important, as it means the tape is softer, so will get a better seal. The glossy stuff from Office Depot is harder, so tends to lift up a bit and cause more leakage than the sealing spray can handle.
4b1: Add a tape strip to the inner and outer edges. The strips should now be 3/8" apart.
4b2: Add a strip to the center. There should now be two 1/8" gaps on each wing.
4b3: Spray white. (This seals it like you did in Step 2).
4b3: Spray white. (This seals it like you did in Step 2).
4b4: Spray the black.
There we go, saved two steps by using the artist tape...
 Step 5: The Reveal
Remove the tape, and we're done! Voila...ready for the tabletop.
Note: you get much better results if you study some video of Dr Frankenstein-removing-the-gauze to get the proper tape-removal technique.
Step 6: Fuselage Stripes
Okay, not quite done. Repeat the same steps to add fuselage stripes, and we will be done for real. The only change is to narrow the stripes if necessary so they fit the smaller area. Decals can be added, but as I don't have the right ones, that will get done another day.
No comments:
Post a Comment